Whilst everyone has different ways of using Microsoft Whiteboard, sometimes you might not think of ways to use the features included, so we’ve found some quick tips to help. If you’ve seen our first lot of tips, here are 3 more quick tips for you to try to enhance your whiteboard sessions using your HDi Interactive Screen.
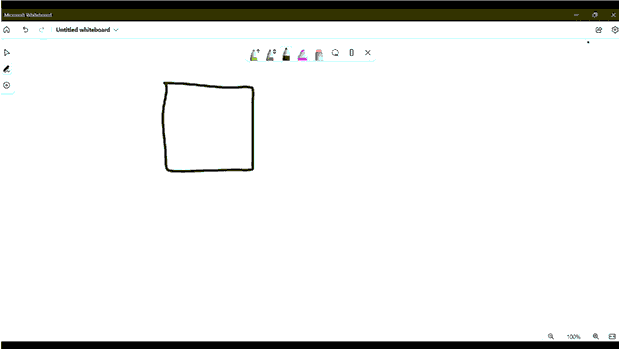
1. Instant Shapes
Microsoft Office Whiteboard can turn your rough drawn shapes into neatly drawn 2D shapes. To enable this, click on the settings cog in the top right and then turn on “Enhance Inked Shapes”. IF you don’t like the shape, or you want to keep what you originally drew instead, you can click the undo button and it will revert to the way you drew it.
Setting (Top right conner) >> Enhance Inked Shapes
2. Formatting the Background
While a white board is nice, Microsoft Whiteboard can change the background colour to suit your audience. To do this, click on the setting cog in the top right, and select Format Background. You can select the colour of your background as well the option to have a grid or set of lines to help with setting out your work.
Setting (Top right conner) >> Formatting Background
3. Clearing the Canvas
If you find you have made too many mistakes and using the eraser is too slow, but don’t want to exit and come back in, you can clear the whole canvas. To do this, right click on the board and from the selection click Clear Canvas. It will ask if you are sure to check and will then clear all the drawings for you.