Whilst everyone has different ways of using Microsoft Whiteboard, sometimes you might not think of ways to use the features included. Here are 3 quick tips for you to try to enhance your whiteboard sessions using your HDi Interactive Screen.
Once again we bring you these useful tips that will make the most of your experience with Microsoft Whiteboard and your interactive screen.
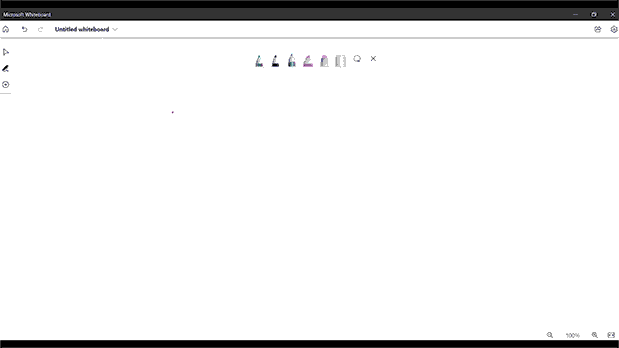
1. Automatically Draw Arrows
Instead of having to draw arrows manually, whiteboard offers the ability to set up one of your pens as an arrow that you can use to point in the direction you draw. You can even set it so that you have an arrow with points at both ends. By double clicking on the pen and selecting from the bottom the arrow, double arrow or the crossed circle to clear it, you can select your arrow style. Draw in the direction you want, and it appears!
Automatically Draw Arrows
Automatically Draw Arrows
2. Drawing Straight Lines Without a Ruler
If you draw a reasonably straight line and hold the pen on the screen at the end, the line will snap straighten itself. If you need to make it line up at another angle, or even a different size, just keep holding the pen down and you can move and stretch the line from the point you first started.
Drawing Straight Line Without a Ruler
3. Use Templates to Speed Up Your Collaboration
Microsoft Whiteboard now has different templates to help speed up and streamline your creative thinking and collaboration. To add a template, use the side toolbar, click the + icon and open the create toolbar. Clicking templates will list different topic areas that give different templates you can insert and edit to suit your needs.
Using Template In Microsoft Whiteboard to Speed Up Your Collaboration